What if a Crochet Pattern Could Create Autumn all Year Around?
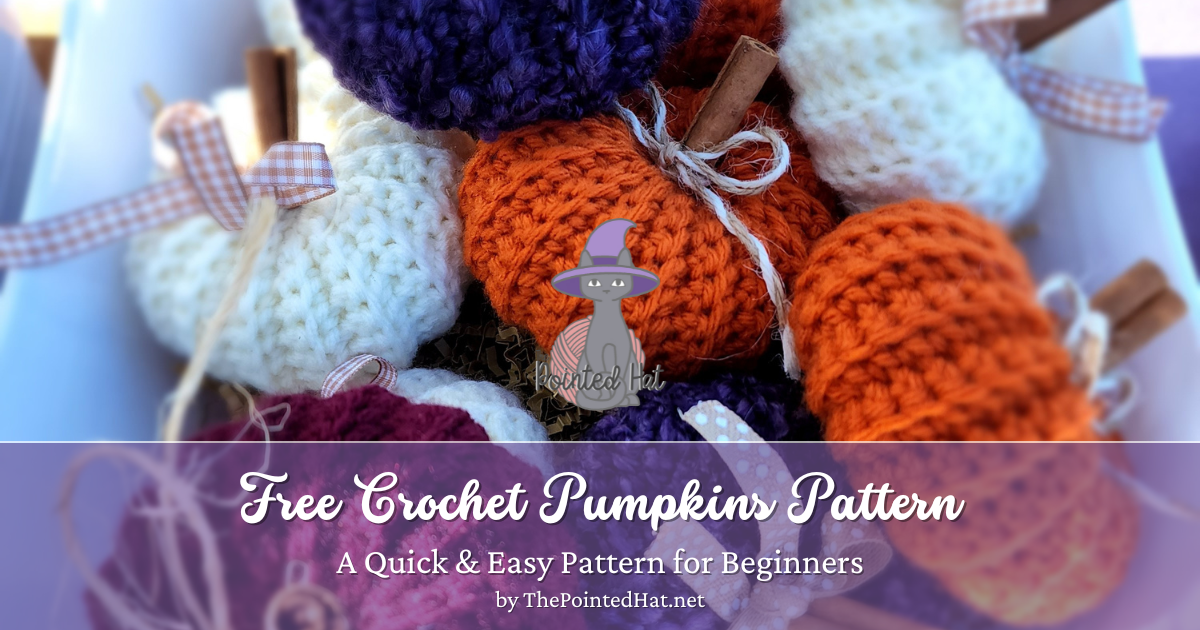
Some of you may know, or have guessed, that fall is my absolute favorite time of year! And as of the date of this post, it’s almost upon us! Just one more month until the official first day of fall, and – you guys – I’m excited. What better way to celebrate than by releasing this adorable Mini Pumpkin Crochet Pattern? It works up perfectly in a wide range of colors (purple pumpkins, anyone?), with just about any yarn, and in under an hour! Plus, it’s free! What more could you want from a pattern?
The mini version of these pumpkins are great scrap busters because they use only 20 or so yards of yarn! You can even stuff them with those pesky yarn scraps that we crocheters are always trying to find a use for. Perfect!
Great Flexibility
Maybe you don’t have worsted weight yarn on hand. Maybe you’d rather try this pattern with velvet or chenille yarn. Thankfully that’s no problem at all! I’ll give you directions on how to make this pattern with ANY yarn, in any size, without having to spend lots of time counting stitches or rows!
How many times have you and I been working on a crochet project, counting dutifully according to pattern directions, and getting interrupted or distracted by things going on in your home until you lose count and have to start over?
And how many of you (myself included) get distracted by your own internal thought processes and lose count even in a perfectly quiet room!? That’s not going to happen here, thank goodness! So scroll on down for the details. And don’t forget to comment with your pics and show me some love!

Supplies
Yarn (min 20yds)
- Stuffing
- Hot Glue Gun & Glue
- 2″ Piece of Cinnamon Stick
- Ribbon/Twine
- 5.5mm Hook (or recommended for your chosen yarn weight)
- Scissors
- Yarn Needle
Directions
- Chain 16 (or more if you’d like a larger pumpkin)
- 15 single crochet stitches, chain 1, turn
- 15 single crochet stitches in BACK LOOP ONLY, chain 1, turn

4. Repeat #3 until your work is roughly 2x longer than it is tall.
This works with ANY yarn, any number of starting stitches, and any hook size.
For example: if your starting chain is 6″ tall, you want to work until your project is 12″ wide. Once your project is wide enough, fasten off. Leave a yarn tail that is about 2x longer than your work is wide.

5. Fold the work in half, lining up the short ends. Use your long yarn tail and yarn needle to sew the two pieces together.
Do not cut yarn tail yet!


6. Turn the work and stitch along the longer edge, going around the entire circumference until you get back to the start. Pull the yarn to cinch the bottom shut.
Do not cut yarn tail yet!
7. Flip the pumpkin so that the yarn tail is on the inside. Feel free to cut yarn tail now, or leave it for the next step.


8. Stuff the pumpkin. Make sure not to stuff it too full, or else your stitches will gape.

9. Using a length of yarn, repeat step 6 to close the top of the pumpkin.
*Note: Before you fully close up, you may want to add more stuffing if needed. Once you’re satisfied with the stuffing, cinch the top closed and secure it firmly.
(Optional) Pass your yarn needle through the center of the pumpkin and out the bottom. Pull the tail tightly so that it squishes the height of the pumpkin down a bit, and fasten off.


10. Now we need the cinnamon stick, ribbon, and hot glue.
Before you glue the cinnamon stick onto the pumpkin, tie the ribbon to it. It’s easier that way! Once you’re happy with the ribbon placement, glue the cinnamon stick to the dip in the center of the pumpkin.


That’s it, you’re done!
What a great way to add a little charm and warmth to your autumn decor this year! I’m going to make dozens of these — and if you do too, don’t forget to snap a pic and share it with me! I love to see what everyone creates!
🧶 Stitch Spells, Not Spam!
Sign up to get magical new patterns, spooky-cute inspiration, and exclusive freebies —delivered straight from my cauldron to your inbox.
Hey, friends! We’ve changed our email newsletter provider! If you’d like to continue to receive emails, please sign up again!
Leave a Reply