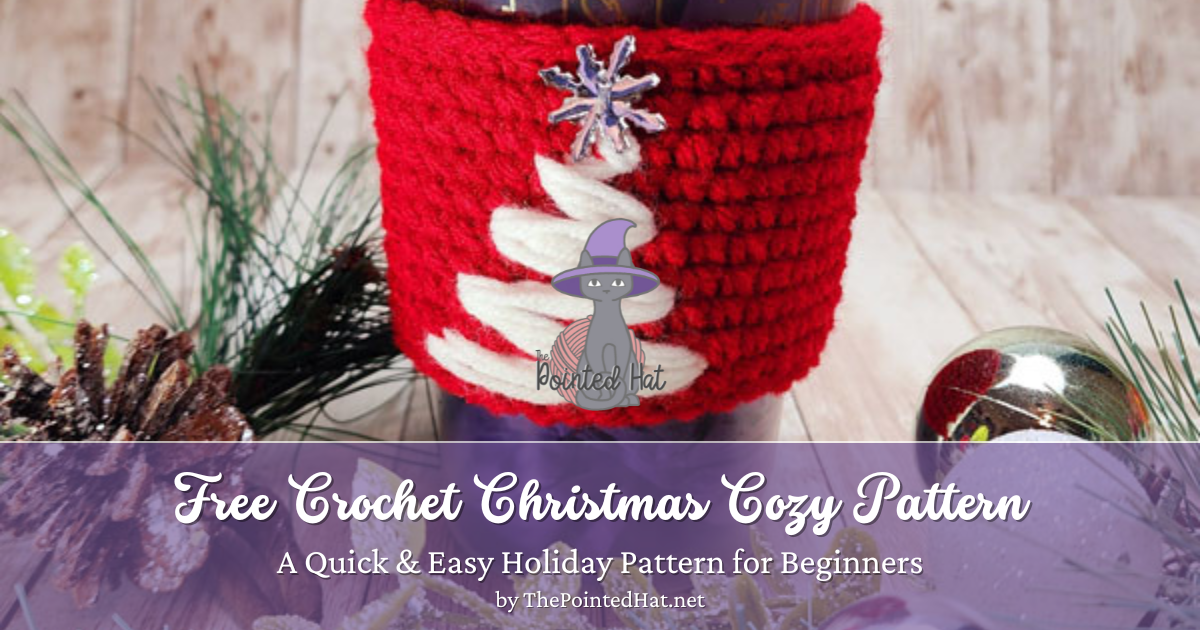
FREE Crochet Pattern: Christmas Tree Cozy

Christmas Tree Cup Cozies!

Are you looking for a quick, easy project for the holiday season? The Christmas Tree Cup Cozy is a great festive holiday crochet pattern that beginners will love. This pattern is perfect for practicing basic, single crochet stitches, and can be completed quickly. You can even add some sparkle with sequins or beads, and a small star on top will complete the look.

Not only is the Christmas Tree Cup Cozy a fun and festive addition to your hot beverage container, but it also makes a great gift for family and friends during the holiday season! Whether you’re sipping hot cocoa or coffee, this cozy will add some holiday cheer to your day. With its easy-to-follow pattern and quick completion time, you can make several of these cozies in different colors to match your holiday decor or gift them to your loved ones. Try making one in pine green, gold, or silver and make a variety of gifts for your loved ones this winter.

Materials

  • 4.5mm hook
  • 25 – 30yds of yarn (Base color)
  • 2yds of yarn (Tree color)
  • Optional: 1 Festive Button
  • Optional: Sewing Needle
  • Optional: Sewing Thread

Notes:

  • We will be working in joined rounds, which means you will slip stitch and chain one at the end of each round.
  • These are US terms

Directions

  1. Chain 35
  2. Create a loop by slip stitching into the last chain from your hook, then chain 1
  3. 1 single crochet stitch in each chain around, slip stitch to the start of the round, and chain 1
  4. Repeat the last step until you have 10 total rows.
    Pause here, test the fit on your cup of choice. If it’s too small, you can go up a hook size and start again, OR start with a bigger starting chain in step 1. If you’re happy with the fit, continue to step 5.
  5. Slip stitch snugly in each stitch of the last row. This will be the bottom of the cozy. Test the fit on your cup again. If you’re happy with the fit, cut yarn and weave in the tail.
  6. Attach to the top of the cozy with a slip stitch. Then, one loose slip stitch in each stitch of the row. Test your fit. If you’re happy with the fit, cut yarn and weave in the tail.
  7. Using approx 2yds of your tree colored yarn, thread a yarn needle so that the yarn ends meet.
  8. Stitch a zig-zag pattern up the cup cozy, getting smaller as you go. Weave in the remaining yarn tail and trim any excess.
  9. Optional: Add a star, jingle bell, snowflake, etc. to top your tree. Even a heart or flower shape could work.
  10. You’re done!

How Simple Was That?

Now you have another quick, easy gift in your arsenal. And better still – it’s a great scrap buster, too! If you’ve seen any of my other freebie posts, you’ll know I’m all about using up those pesky scraps! And if you haven’t seen any of my other freebie posts, you are definitely missing out. I’ve got everything from decor, to accessories, to toy for kids. So don’t delay! Go check out all of my other freebie posts today!


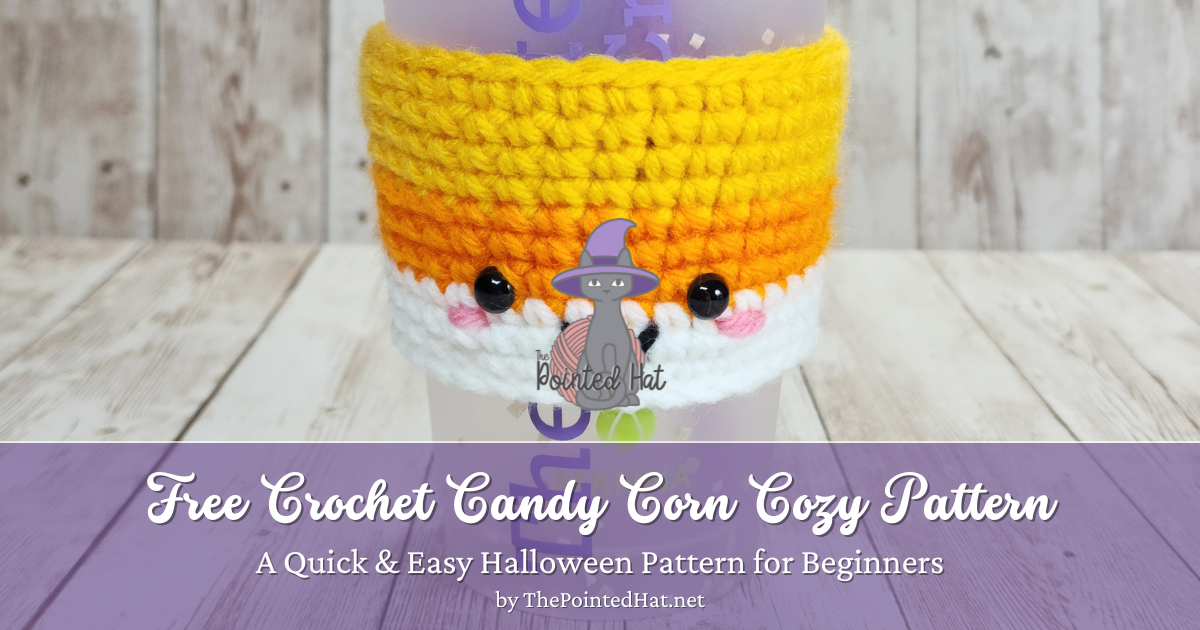
FREE Crochet Pattern: Candy Corn Cup Cozy
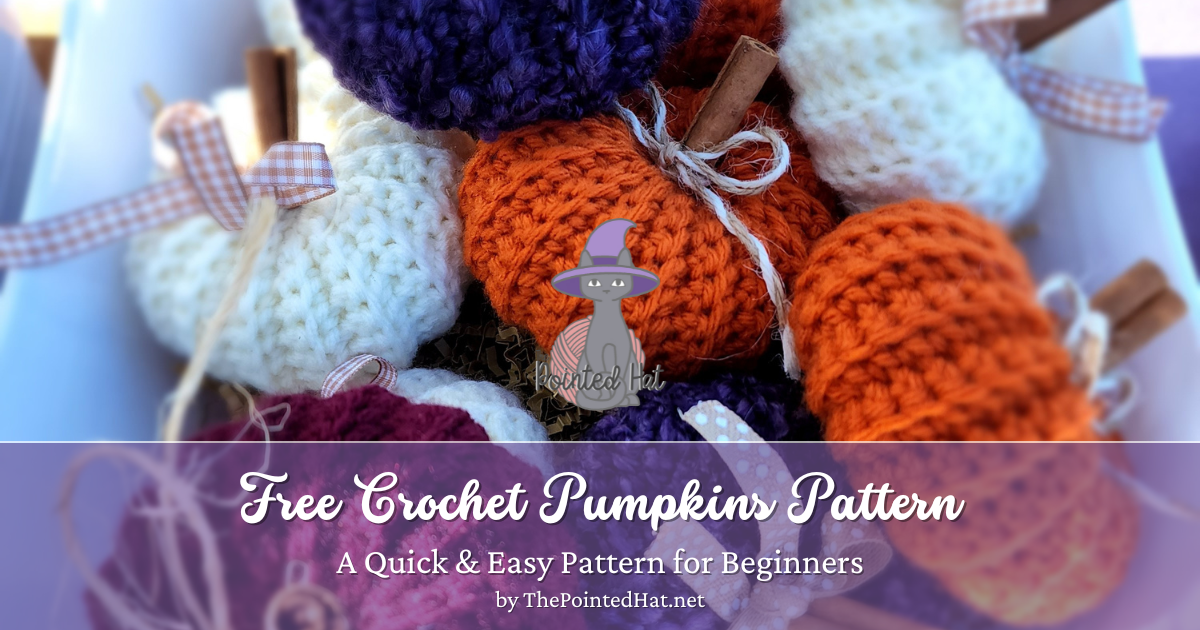
Halloween fans, this one’s for you!

The Candy Corn Halloween Cup Cozy is an adorable and easy-to-make crochet pattern that is perfect for beginners. This cozy is perfect for Halloween lovers who want to add some festive flair to their favorite hot beverage container. With just a basic single crochet stitch, this pattern can be completed quickly. And with the addition of rosy cheeks, a smiling face, and bright eyes, who could resist the charm?

This cozy is also washable and reusable, making it an eco-friendly choice for those who want to reduce their waste. Not only is the Candy Corn Halloween Cup Cozy an eco-friendly choice, but it is also a great gift for family and friends who love Halloween. It’s perfect for sipping your favorite hot or iced beverage during the spooky season. Use it add some charm to your Halloween decor at home and on the go! With its beginner-friendly pattern, anyone can create this cozy, making it a great choice for those who are new to crochet or anyone who just wants a quick and easy project. Get started on yours today!


Supplies

  • 4.5mm Hook
  • (Optional) 6mm Plastic Safety Eyes
  • 4/Worsted Yellow Yarn
  • 4/Worsted Orange Yarn
  • 4/Worsted White Yarn
  • 4/Worsted Black Yarn: Less Than 1yd
  • 4/Worsted Pink Yarn: Less Than 1yd

Directions

Working in joined rounds. Slst and ch1 at the end of each round.

  1. Yellow Yarn: Chain 35, slst to the last chain from the hook to form a circle.
  2. Ch1, 1sc in same space, then 1sc in ea st around, slst to the start, ch1 (35)
  3. Repeat until you have 4 rows of yellow.
  4. Change to orange yarn, complete 3 rows of orange.
  5. Change to white yarn, complete 3 rows of white.
  6. Snugly slip stitch around the last row of white. Make sure to test your cozy on the cup you intend to use it with to make sure it isn’t too small for the cup.
  7. Using yellow yarn, loosely slip stitch around the first row of yellow stitches at the top of the cozy. Test the fit of your cup cozy again.
  8. If using black yarn for the eyes, now’s the time to embroider the eyes and face onto the cozy. Use your best judgement on where you’d like to place these.
    F/o and weave in ends.
  9. If using safety eyes, insert the eyes several stitches apart and do NOT use the included backs. Instead, use a lighter to melt the backs of the eyes and flatten them with a spoon or other heat resistant surface.

    ** Use extreme caution when using lighters and/or open flame to melt the backs. It is possible to injure yourself, or damage the cozy if you are careless.**

  10. (Optional) Use the Pink yarn to add little blush spots just under the eyes, for a bit more character.

FREE Crochet Pattern: Mini Pumpkins

Autumn is almost here!

Some of you may know, or have guessed, that fall is my absolute favorite time of year! And as of the date of this post, it’s almost upon us! Just one more month until the official first day of fall, and – you guys – I’m excited. What better way to celebrate than by releasing this adorable pattern?

It works up perfectly in a wide range of colors (purple pumpkins, anyone?), with just about any yarn, and in under an hour! Plus, it’s free! What more could you want from a pattern?

The mini version of these pumpkins are great scrap busters because they use only 20 or so yards of yarn! You can even stuff them with those pesky yarn scraps that we crocheters are always trying to find a use for. Perfect!

Great Flexibility

Maybe you don’t have worsted weight yarn on hand. Maybe you’d rather try this pattern with velvet or chenille yarn. Well, thankfully that’s no problem at all! I’ll give you directions on how to make this pattern with ANY yarn, in any size, without having to spend lots of time counting stitches or rows!

How many times have you and I been working on a crochet project, counting dutifully according to pattern directions, and getting interrupted or distracted by things going on in your home until you lose count and have to start over?

And how many of you (myself included) get distracted by your own internal thought processes and lose count even in a perfectly quiet room!? That’s not going to happen here, thank goodness! So scroll on down for the details. And don’t forget to comment with your pics and show me some love!

Supplies

  • Yarn (min 20yds)
  • Stuffing
  • Hot Glue Gun & Glue
  • Cinnamon Stick
  • Ribbon/Twine
  • Hook recommended for your chosen yarn weight
  • Scissors
  • Yarn Needle

Directions

  1. Chain 16 (or more if you’d like a larger pumpkin)
  2. 15 single crochet stitches, chain 1, turn
  3. 15 single crochet stitches in BACK LOOP ONLY, chain 1, turn
  4. Repeat #3 until your work is roughly 2x longer than it is tall (See pics 1 – 3). This works with ANY yarn, any number of starting stitches, and any hook size.
    For example: if your starting chain is 6″ tall, you want to work until your project is 12″ wide. Once your project is wide enough, fasten off. Leave a yarn tail that is about 2x longer than your work is wide.
  5. Fold the work in half, lining up the short ends. Use your long yarn tail and yarn needle to sew the two pieces together. (See pics 4 & 5) Do not cut yarn tail yet!
  6. Turn the work and stitch along the longer edge, going around the entire circumference until you get back to the start. Pull the yarn to cinch the bottom shut. (See pics 6 & 7) Do not cut yarn tail yet!
  7. Flip the pumpkin so that the yarn tail is on the inside, and stuff the “bowl”.
    (See pics 8 & 9) Do not cut yarn tail yet!
  8. Repeat step 6 to close the top of the pumpkin, securing the stuffing inside. Before you fully close up, you may want to add more stuffing if needed. Once you’re satisfied with the stuffing, cinch the top closed and secure it firmly.
    (See pic 10) Do not cut yarn tail yet!
  9. Pass your yarn needle through the center of the pumpkin and out the bottom. Pull the tail tightly so that it squishes the height of the pumpkin down a bit.
  10. Fasten off, weave in/hide the remainder of the yarn tail. NOW it’s okay to cut the yarn.
  11. Tie a ribbon around your cinnamon stick piece, then use hot glue to secure it to your pumpkin. (See pic 11).

You’re done! Thank you so much for stopping by!


Now Available: Magic Fairy Wand Pattern

star shaped wands in many colors

New Pattern Released!

I am so excited to release this pattern for you today. The Magic Fairy Wand crochet pattern is a quick, adorable pattern that is perfect for scrap busting. It makes a great costume accessory for Halloween, pretend play, cosplaying, or even LARP!

Choose your yarn colors and decorations to personalize these wands in a million different ways. Add beads, sparkling yarn, lace — the possibilities are endless!

I love that this pattern can be worked up in a little over an hour, only takes 10 – 15yds of yarn, and just a handful of stuffing. Heck, you could even stuff these with yarn trimmings if you’re trying to reduce waste or be thrifty.

Clear, Helpful Photos

My patterns include plenty of clear, helpful, photos – especially if there’s a tricky or complicated bit of instructions that need to be followed. I make sure my photos walk you through the process as clearly and simply as possible! Sometimes I even provide multiple photos of the same step, from different angles, to make absolutely sure you are able to replicate the pattern instructions yourself. Plus, the pattern has been tested by crocheters just like you! The testers check for errors, readability, clarity of photos, and even typos, all so that I can offer you the best pattern I’m able to create.

And if That’s Not Enough…

And if the clear photos, thorough testing, and the step-by-step instructions aren’t enough — I am perfectly happy to personally help you clarify any part of the pattern that you may need! Just contact me via email, or reach out using the FB Messenger plugin on my front page!

So what are you waiting for? Visit my shop and make your purchase today!


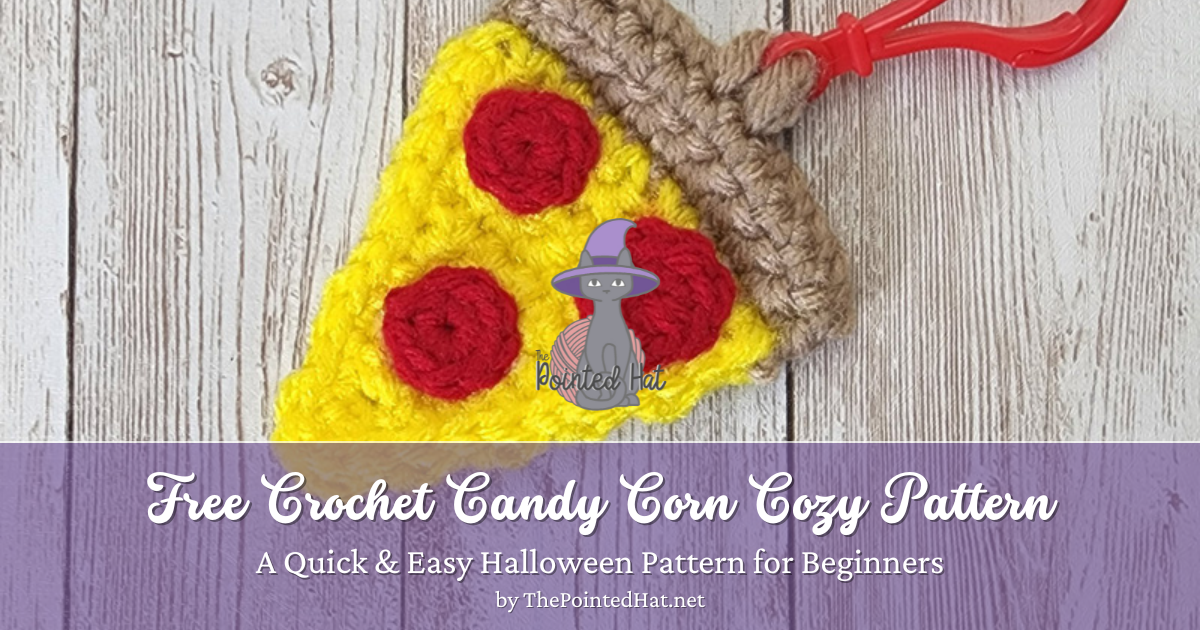
FREE Crochet Pattern: Pizza Slice Keychain

Pizza is a favorite food among many kids, and for good reason. The combination of gooey cheese, savory tomato sauce, and a variety of delicious toppings is hard to resist. Let your child(ren) show their love of pizza to the world with this easy Pizza Slice Keychain pattern! The crochet Pizza Slice keychain works up in under an hour, and it’s perfect for crocheters of all skill levels. Whether you’re the newest beginner, to the most advanced professional.

You can hang these cuties on your kids’ backpack (or yours!), use it to identify luggage at the airport baggage claim, gift it to a teacher or friend… the possibilities are endless. And not only that, but this project uses just a tiny bit of yarn, which makes it a great scrap buster! I hope you enjoy making this adorable little accessory as much as I do. I’d love to see your makes using this pattern! Feel free to leave a comment and share your pictures!

Materials

  • 3.5mm & 4mm Hooks
  • Yarn Needle
  • 4/Worsted Weight Yarn in tan, yellow, and red (just a few yards of each!)
  • Keyring, lobster clip, or desired clip type
  • (Optional) Red Felt
  • (Optional) Hot glue

Glossary

US Terminology

  • SC – Single Crochet
  • CH – Chain
  • DEC- Decrease
  • SLST – Slip Stitch
  • F/O – Fasten Off


Directions

Tan/Brown Yarn

Start: Ch11, leave a tail a few inches long for sewing later

  1. 10sc, ch1, turn
  2. 10sc, ch1, turn
  3. 10sc, ch1, turn
  4. Fold the piece in half longways to form the crust. Use 10sc stitches all the way across to stitch the sides together.
  5. F/o. Use your yarn tails to sew the ends of the crust closed.

Yellow yarn

  1. Attach your yellow yarn to the crust with a slst. Then 1sc in ea st across.
  2. 10sc, ch1, turn
  3. dec, 6sc, dec, ch1, turn
  4. 8sc, ch1, turn
  5. dec, 4sc, dec, ch1, turn
  6. 6sc, ch1, turn
  7. dec, 2sc, dec, ch1, turn
  8. 4sc, ch1, turn
  9. 2dec, ch1, turn
  10. 2sc, ch1, turn
  11. dec, ch1, do NOT turn
  12. Cut yarn, f/o, weave in tail.
  13. Attach to the top left corner of the cheese with a slst.
  14. Make 1slst in each row around both sides of the triangle. (See 2nd image)

Pepperoni – Make 3

Option 1: Hot glue dime-sized circles of red felt to the pizza

Option 2:
3.5mm hook, red yarn

  1. 8sc into a magic circle, slst to close
    (If you’re unfamiliar with the magic circle, you can ch2 and work all 8sc into the 2nd ch from your hook)
  2. f/o, weave in tails
  3. Hot glue or sew the pepperonis onto the pizza.

Keyring

Using a yarn needle and the same tan yarn you used for your crust, sew the keyring onto the pizza.

Make sure not to cinch up your stitches too tightly, or else your keyring won’t be able to swing or twist as it’s being used.

I like to make several open loops with my yarn passing through the keyring to make sure it’s sturdy enough while still being able to swing and twist appropriately.

And that’s it! Now you’ve got yourself an adorable pizza keychain that’s sure to please! No go forth and crochet, my friends!


The Hangtown Wild West Festival

EDIT: The Wild West Festival is over, and we had a great time! Thank you to those who came out and said hello!

fashion man couple people

Yee haw!

Come on down to the Hangtown Wild West Festival this weekend (May 21st – 22nd) and bring this coupon to get 20% off any purchase of $50* or more.

This coupon is valid on ANY of the items in my booth, whether that be cup cozies, plushies, or my brand new hobby horses! Just spend $50 before sales tax, and I’ll take 20% off your order total when you present this coupon.

Sorry, I can’t honor the sale if you don’t present the coupon! So don’t forget to either print it out, or save it to your phone and show me at checkout. I hope to see you there!

DOWNLOAD COUPON

Event Information

Visit www.HangtownWildWestFest.com for information on tickets, event hours, participating vendors, and more!

We hope to see you there, and don’t forget to tell us you found us on ThePointedHat.net!

FREE Crochet Pattern: Pawprint C2C Throw Pillow Cover

Pawprint Pillow Cover

We love our pets. And what better way to show that love, than to decorate our homes with pet-themed goodies?! Thankfully I have the perfect pattern to do just that, and it’s FREE: the Pawprint Pillow Cover!

The Pawprint Pillow Cover works for a range of pillow sizes; just change your yarn and hook sizes to make something larger, or smaller!

It’s Easy!

This pattern is for the C2C Block Stitch and is only 17×17 squares in size! It works up so quickly!

For a 12″ pillow, use 4/worsted weight yarn and a 5.5mm hook.

For a 14″ pillow, use 5/bulky weight yarn (or 2 strands of worsted weight) and a 6.5mm hook.

For larger pillows, use 6/bulky weight yarn and an 8mm hook!

But please, make sure you create a test swatch first, so that you know what your personal hook, yarn, and tension combination is going to make. You may find that you’ll need to go up or down a hook size to get your desired results.

Pawprint Pillow Cover Directions

Option 1:
• Make 2 pawprint squares
• With right sides facing together, slip stitch or sew the top and two sides together. Flip the cover right side out, and you’re done!
• (Optional: Add buttons or ribbons to the bottom to secure the case to the pillow form)

Option 2:
• Make 1 pawprint square for the front, and 1 blank square for the back of the pillow.
• With right sides facing together, slip stitch or sew the top and two sides together. Flip the cover right side out, and you’re done!
• (Optional: Add buttons or ribbons to the bottom to secure the case to the pillow form)

Click Here to Download the Free Graph!

Want some Row-by-Row instructions?

If you have trouble reading C2C Graphs, don’t worry! I have a row-by-row instruction PDF that you can download directly from my store!

Created with Stitch Fiddle: www.StitchFiddle.com

Cupcake Pets: Bunny, Kitty, Uni Crochet Patterns Available Now

Just in time for Easter

It’s the Cupcake Pets crochet patterns! Each little cupcake pet is approximately the size of a real cupcake. They’re designed to fit into single-cupcake boxes, too, which makes them PERFECT for gifting!

Each pattern has been tested by real-life crocheters just like you. They worked through the pattern and made sure there were plenty of photos, clear instructions, and useful tips. Plus, each tester checked for errors and problems, too! You can feel confident that when you purchase a pattern from ThePointedHat.net, you’re going to get a quality pattern that works up as promised.

Choose between the Bunny, Kitty, or Unicorn patterns – or, if you can’t decide, I’ve got a pattern bundle available too! Plus, when you buy the bundle, you save 30% over buying each pattern individually. That makes it super easy for you to treat yourself this Easter holiday season!

A Great Candy Swap

If you’re a parent like me, you’re probably always on the lookout for treats and gifts that are NOT candy.

That’s not to say that kids shouldn’t have candy now and again, but I always struggle to find kid-friendly basket stuffers that aren’t edible! Even a basic internet search for “easter basket stuffers for kids” comes up with mostly candy and food, right?

So I thought that food-themed plushies would be a perfect swap! Plus, they’ll last a lot longer than a real cupcake, they aren’t sticky, they won’t melt in warm weather, and they aren’t going to cause cavities!

Shop Now!

Take a peek at these pattern listings and their reviews. I work hard to make sure my customers are happy with their purchases! And, if you’re new to crochet and have questions about any of my patterns, you’re more than welcome to reach out to me and ask for help. I’m happy to lend a hand wherever I can!


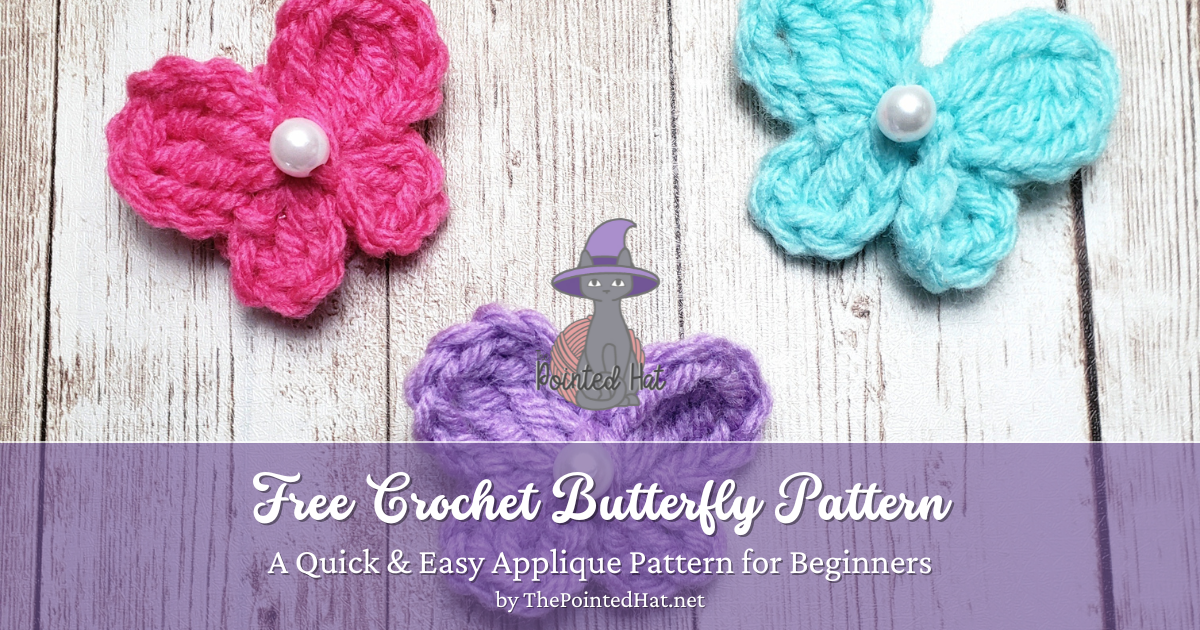
FREE Crochet Pattern: Springtime Butterfly Applique
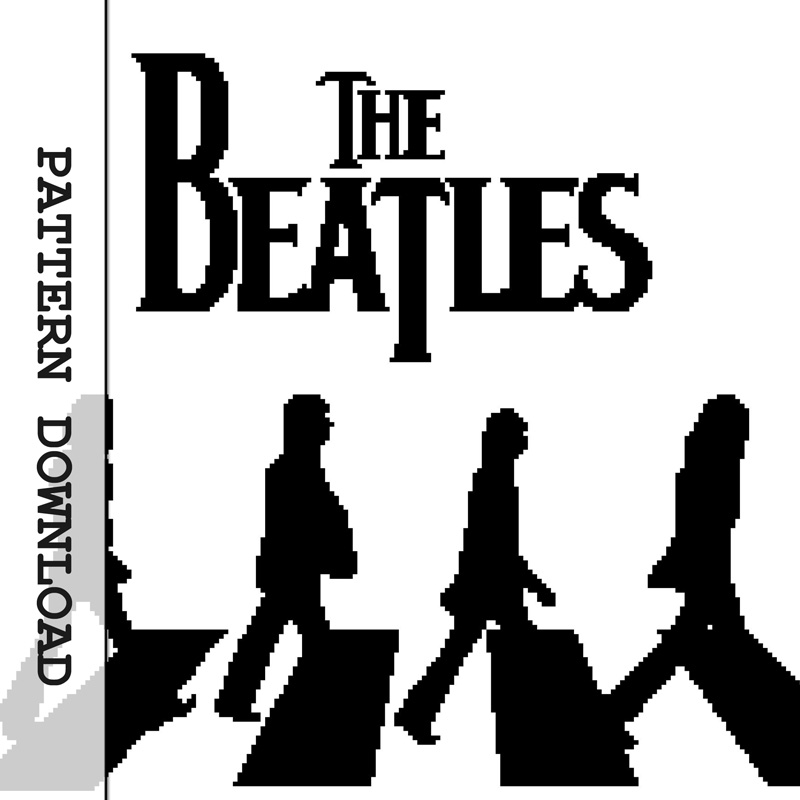
As the temperatures rise and the days get longer, the arrival of springtime brings with it a colorful and lively phenomenon: the arrival of butterflies. These delicate creatures emerge from their cocoons and take flight, fluttering about in search of nectar and a mate. Their wings, adorned with intricate patterns and vibrant hues, are a welcome sight after a long, dreary winter. As they dance among the flowers and trees, butterflies bring a sense of joy and renewal to the world around us, reminding us of the beauty and wonder of nature.

To celebrate, I’ve created this quick, easy pattern that’s not only perfect for springtime, but it’s also a great scrap buster! These butterfly appliques take just a yard or two of yarn, and can be completed in mere minutes! Add a bead or faux gemstone as a final touch, and then apply these little cuties to any project your heart desires.


Supplies:

  • 4.5mm hook (or as desired)
  • 4/Worsted weight yarn
  • Scissors
  • Yarn needle
  • Optional: Bead

Notes:

Changing your hook and/or yarn size will change the finished size of your butterfly.

Feel free to play around with different yarn weights and textures to see what you can come up with. Have fun with it!

yarn, wool, thread-4601270.jpg

Stitch Glossary:

Terminology: US English

  • CH = Chain
  • DC = Double Crochet
  • SLST = Slip Stitch
  • 2 TC TOG = 2 Treble Crochet Together
  • F/O = Fasten Off

Directions:

First Wing:

  1. CH 5
  2. 1 DC into the last chain from the hook. We will be working all future stitches into this chain space. I will refer to it as the “base stitch.” You may want to mark it to make it easier to find as we go.
  3. CH 3, slst in the base stitch.

Second Wing:

  1. CH 4
  2. 2TCTOG
  3. CH 3
  4. Slst back into the base stitch. This is the end of the second wing.

Third Wing:

  1. CH 4
  2. 2TCTOG
  3. CH 3
  4. Slst into the base stitch. This is the end of the third wing.

Fourth Wing:

  1. CH4
  2. 1 DC into the base stitch
  3. CH 3
  4. slst back into the base stitch. This completes the fourth wing.
  5. F/o, leave a long tail for the center of the butterfly

Finishing the Butterfly:

Wrap the long yarn tail around the center of the butterfly to form the body. On your last wrap around, add the bead to your butterfly using the yarn needle. Knot the two yarn tails on the back of the butterfly to secure.

Finished butterflies.
Working a DC into the last CH from the hook
2TCTOG has 3 loops on the hook before it’s completed.
Finished butterfly with bead.

Sheep Coffee Cozies

Crochet Pattern: Sheep Coffee Cup Cozy Sleeve

Sheep Coffee Cozies

Baaa! It’s the Sheep Coffee Cup Cozy!

This coffee cup cozy is the latest in my Farm Animal cup cozies line. The textured stitches are so squishy and soft, you’ll feel like you’re holding on to a real sheep! (Okay, maybe not, but we can’t pretend!)

With spring right around the corner, the sheep cozy is a perfect project for anyone looking to make Easter gifts! What says ‘springtime’ better than a brand new baby lamb?

Why buy from The Pointed Hat?

As always, my patterns are tested by real crocheters just like you! My testers look for errors and clarity. They make sure that I have thoroughly explained my pattern techniques and work closely with me to ensure that my patterns consistently result in great finished products!

Not only that, but I support fellow small business owners just like me. If you want to make and sell your physical products that you created with my pattern – go right ahead! All I ask for is that you tag me as the pattern creator when listing your products in an online marketplace. Easy peasy!

Do I have to use the same yarn?

No! In fact, any yarn that’s a medium/4/worsted weight yarn will work. Cotton, bamboo, wool, acrylic – use what you have on hand, or what makes you happy. All you really need to do is check the fit of your cozy on your desired cup. If you find your yarn brand makes the cozy too big, you can go down a hook size. Too small? Go up a hook size. My cozy patterns are so forgiving and versatile!

How much yarn does this pattern use?

This pattern is a perfect scrap buster! It uses LESS than 20yds of yarn total for the entire project! And even though I put safety eyes on my makes, you don’t even need to do that. Feel free to embroider or crochet eyes instead! This has the added bonus of making your cozy safer if you have small children in your home.

It’s worth noting that safety eyes are a choking hazard.


Even though they are called SAFETY eyes, they’re not 100% foolproof. Littles can chew on yarn, stretch the stitches, or even bite the eye and crack it. Any of those things can cause the eye to pull free from the cozy and be ingested. Please make sure you keep any project with safety eyes in it away from children under 3 years of age!