Your cart is currently empty!
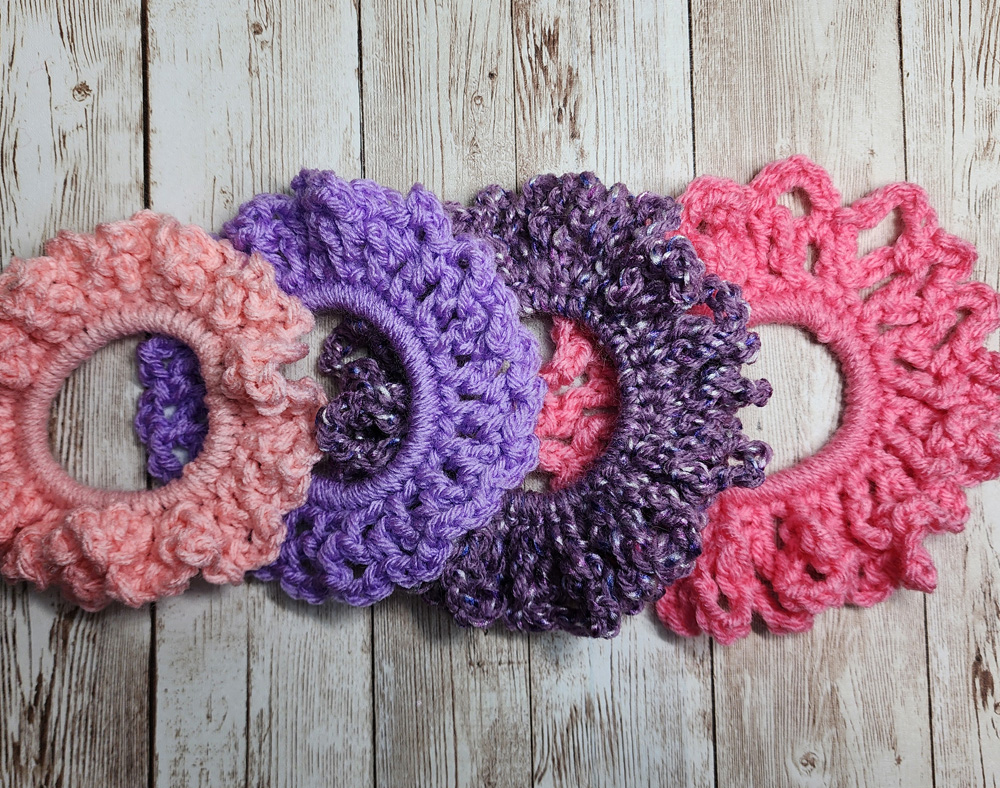
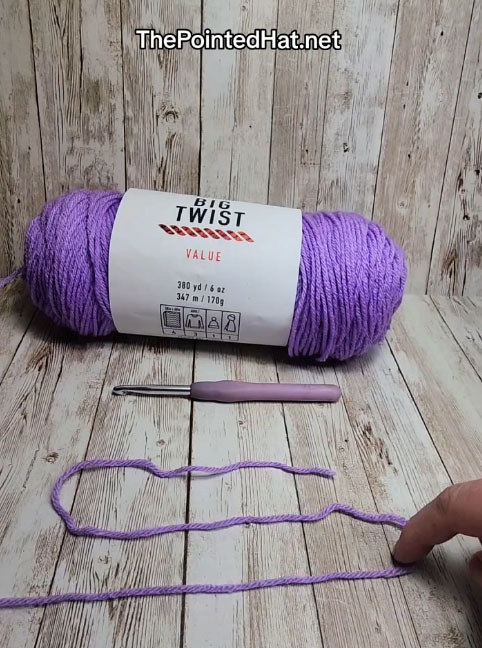
Free Crochet Pattern: Quick and Easy Summertime Scrunchie for Beginners
Beginner friendly and oh so easy to customize. Perfect for summer!

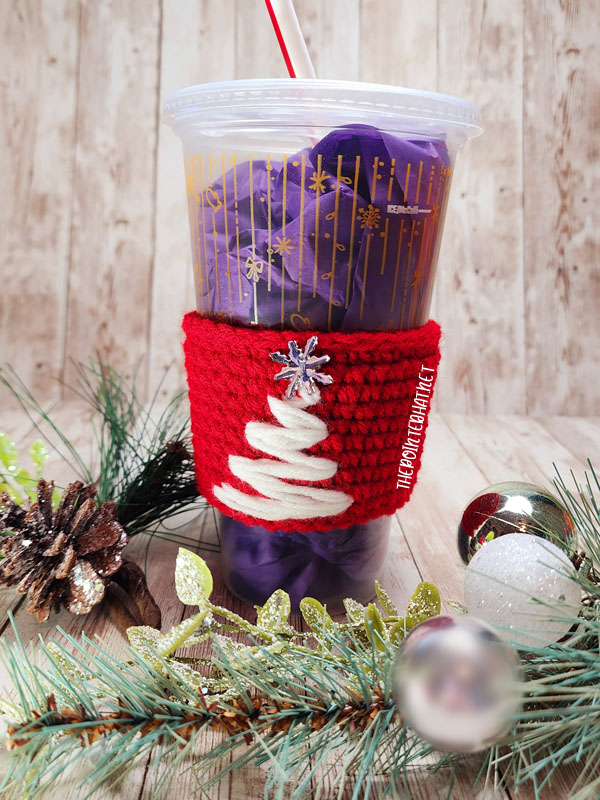
FREE Crochet Pattern: Christmas Tree Cozy
Are you looking for a quick, easy, festive gift to whip up for Christmas this year? This pattern is just for you!
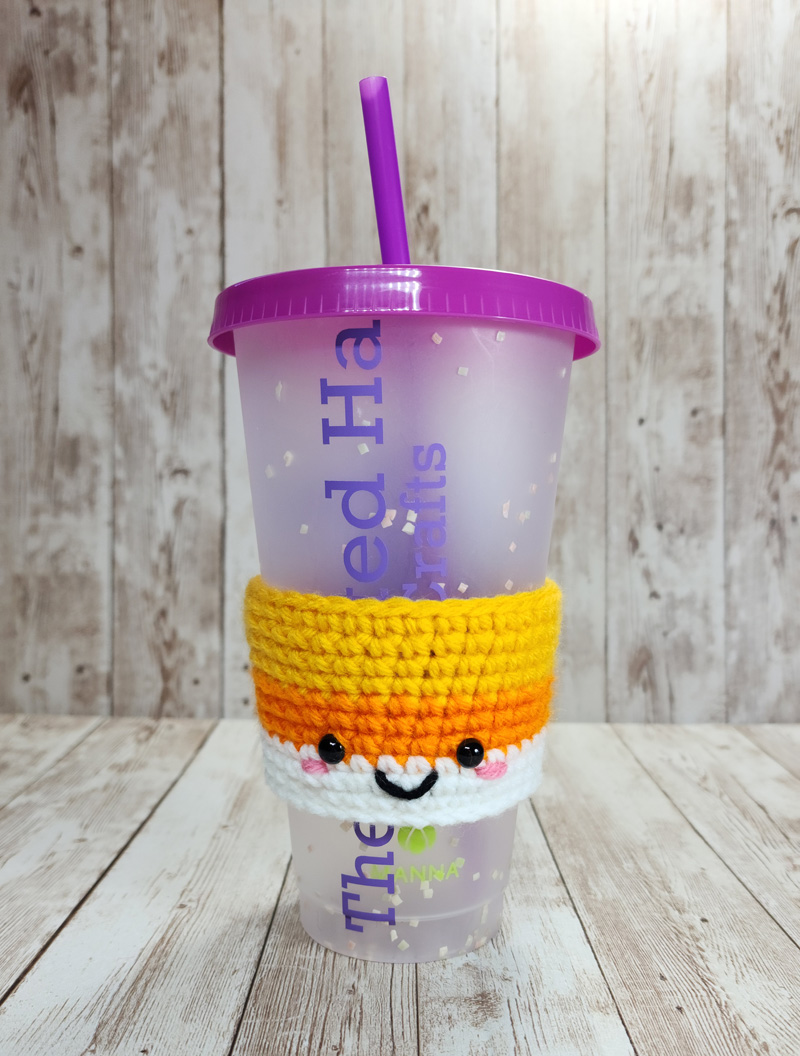
FREE Crochet Pattern: Candy Corn Cup Cozy
Just in time for Halloween, this free crochet cup cozy pattern is a great way to add a little bit of festive fun to your day.

FREE Crochet Pattern: Mini Pumpkins
Get ready for fall with this FREE adorable crocheted pumpkin pattern!
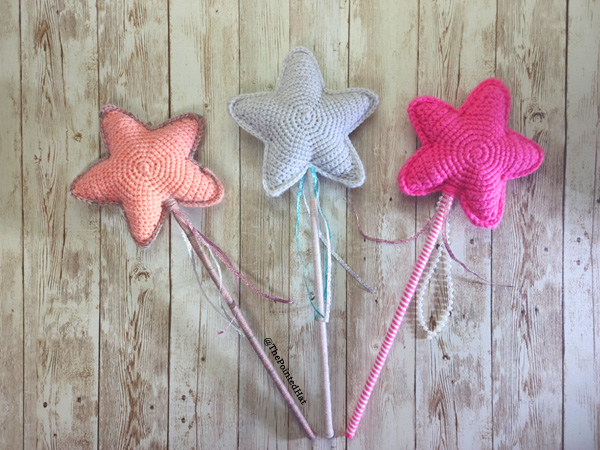
Now Available: Magic Fairy Wand Pattern
These adorable Magic Fairy Wands work up in just over an hour, and use less than 20yds of yarn.
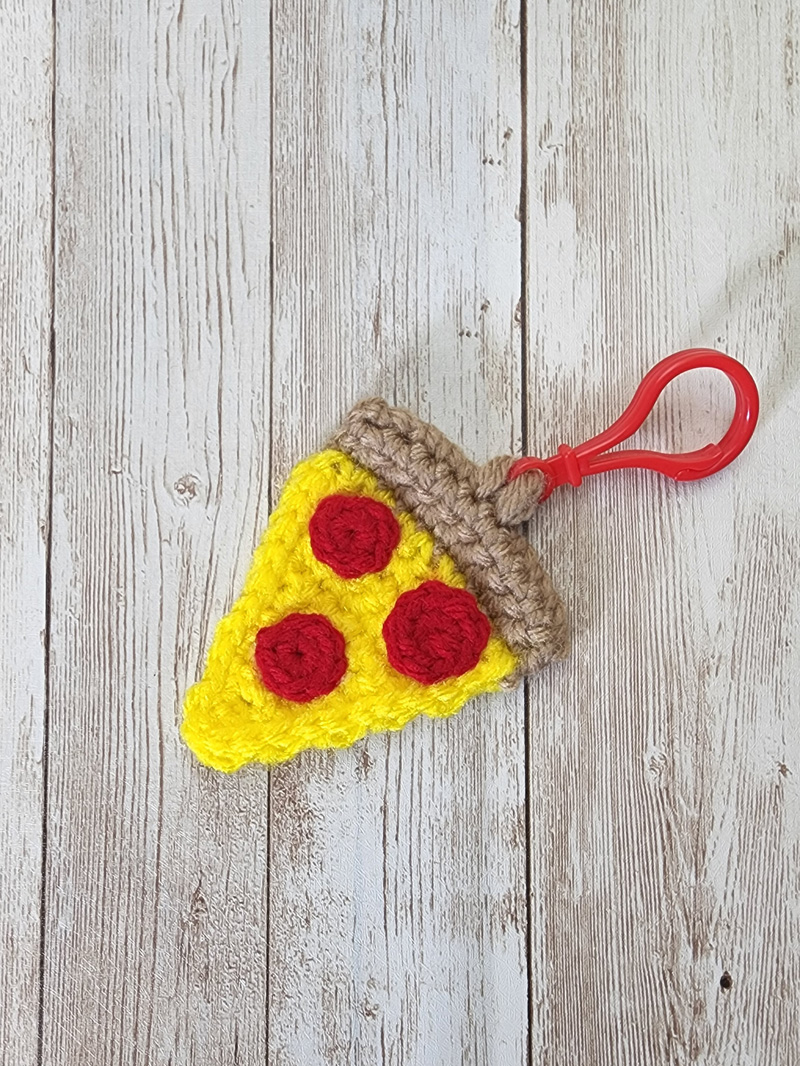
FREE Crochet Pattern: Pizza Slice Keychain
This scrapbusting crochet pattern works up in under an hour, and best of all, it’s FREE! Check out the Pizza Slice keychain today!

The Hangtown Wild West Festival
Join us at the Hangtown Wild West Festival and use this great coupon in my stall!
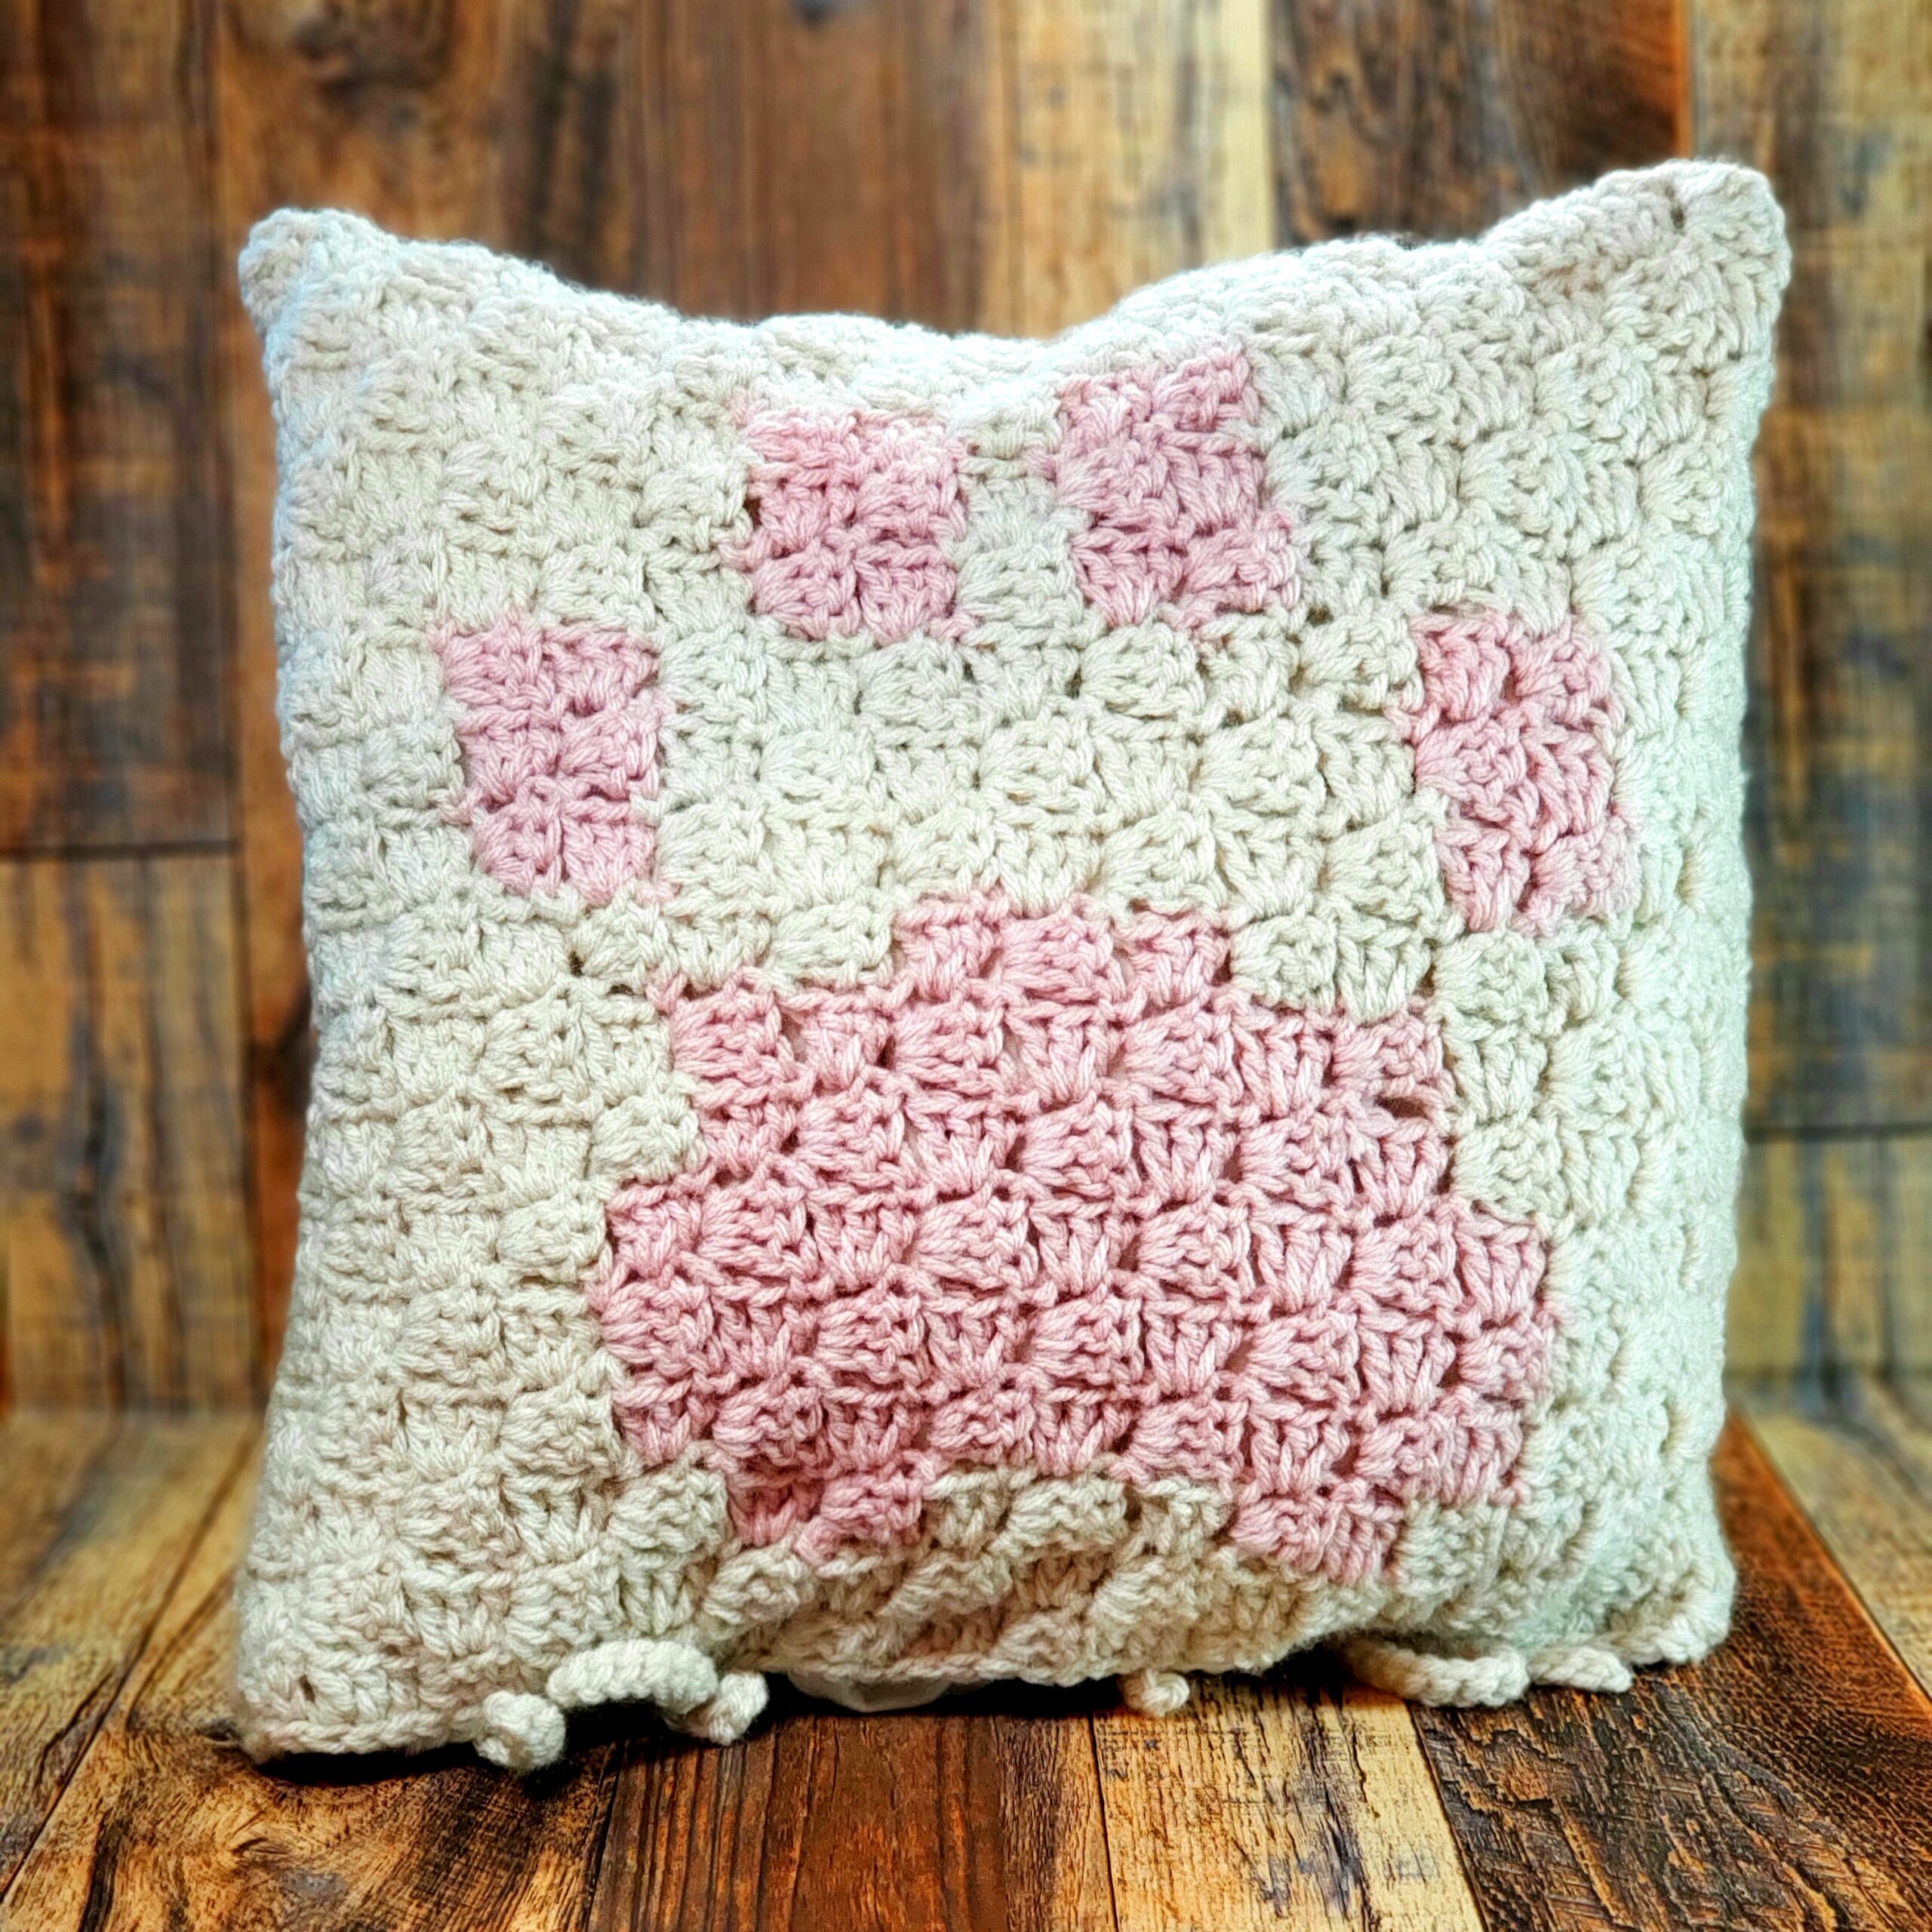
FREE Crochet Pattern: Pawprint C2C Throw Pillow Cover
This pawprint pillow cover is PAWsitively adorable!