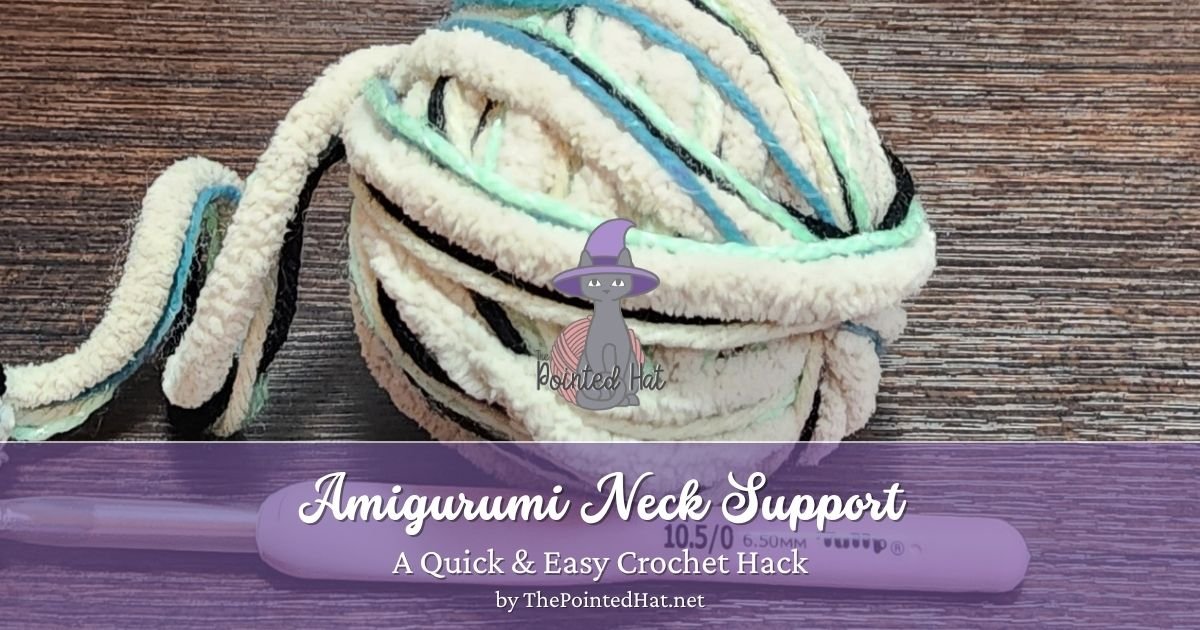
An Easy Amigurumi Neck Support Hack Using Scrap Yarn
If you’ve ever made a crocheted stuffy or amigurumi with a head that’s a little too heavy for its neck, you know how frustrating it can be when the head starts to flop around. There are products you can buy to add support, but there’s actually a much simpler solution you may already have sitting in your yarn stash: scrap yarn!
The basic idea is to make a small roll that sits inside the neck of your amigurumi, and provides some extra support for the head. It’s inexpensive, customizable, and only takes a few minutes to make.
Here’s how I do it:
Materials
- Scrap yarn — I have a ball made up of multiple strands of yarn in varying weights and colors. It’s completely fine if yours is mismatched — no one is going to see it once we’re done!
- Crochet hook suitable for your yarn — I’m using a 6.5 mm hook for this example.
Directions: How to crochet your neck support roll
1. Crochet a foundation chain
Chain 15, or until your chain is approximately the same length as the body of your stuffy.
Note: The exact number of chains isn’t important here. You’re making the support to fit your project, so adjust the length as needed.
2. Crochet a rectangle
Work rows of single crochet stitches until you have a fairly large rectangle. Again, this doesn’t need to be precise. The size of your rectangle will depend on the size of your amigurumi and its neck.
3. Check the fit
Roll the rectangle up lengthwise, as shown in the video. You want the finished roll to fit comfortably inside the neck of your stuffy.
If it’s too loose, add a few more rows of single crochet to make the rectangle larger.
If it’s too tight, frog a row or two until you get the fit you need.
This is one of my favorite things about this method . You can customize the support to fit whatever you’re making!

4. Fasten off
Once you’re happy with the size, fasten off, leaving a long yarn tail. You’ll use this tail to secure the roll in the next step.
5. Wrap the roll
Wrap the long yarn tail around the rolled-up rectangle, as shown in the video. The tighter you wrap the yarn, the firmer your finished neck support will be.
6. Secure it
Tie the two yarn tails together to keep the roll from coming undone.
And that’s it — your neck support is ready to go!
Adding the Support to Your Amigurumi
Partially stuff your amigurumi body, then insert the yarn roll into the neck.
You’ll want to leave about half of the roll sticking out of the neck. Just make sure you don’t leave so much exposed that the roll won’t be contained inside the finished head.
Add stuffing around the roll as needed to hold it securely in place.
Now you can continue crocheting or attach the head of your stuffy as you normally would.

Why I Like This Crochet Hack
There are a few reasons I keep coming back to this method for supporting amigurumi heads.
First, you probably already have everything you need. I’m always happy when a crochet problem can be solved with something I already have in my stash instead of requiring another trip to the craft store.
The scrap yarn doesn’t have to match, either. Different colors, different weights, leftover bits from completely unrelated projects — it really doesn’t matter. Once the stuffy is finished, nobody will ever see it.
It’s also a useful option when you’re making a toy for a child. Scrap yarn is already intended for use in crochet projects, is machine washable, and doesn’t require adding materials that may not be appropriate for children’s toys.
And perhaps best of all, you can customize the support to fit your project. A small amigurumi might need a relatively small roll, while a larger stuffy with a heavier head can use a bigger and firmer one.
There’s no special formula you need to follow. Just make the support fit the neck and adjust how tightly you wrap it depending on how much firmness you need.
A Simple Solution for a Floppy Amigurumi Head
That’s really all there is to it!
I love little crochet hacks like this because they solve a problem without turning it into a whole new project. No special materials, no complicated technique, and no waiting for something to arrive in the mail.
Just a little scrap yarn, a crochet hook, and a few minutes.
So, the next time you’re making an amigurumi with a floppy neck or a particularly heavy head, take a look through your scrap yarn before buying anything new. You might already have exactly what you need.
And if you want to see the process in action, check out the 30-second video above!
Want More Helpful Tips?
🧶 Stitch Spells, Not Spam!
Sign up to get magical new patterns, spooky-cute inspiration, and exclusive freebies —delivered straight from my cauldron to your inbox.
Hey, friends! We’ve changed our email newsletter provider! If you’d like to continue to receive emails, please sign up again!
Leave a Reply